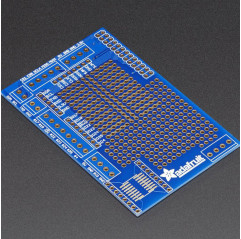
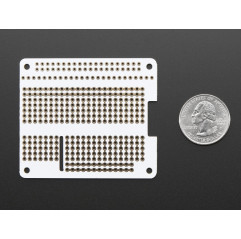
Now that you've finally got your hands on a Raspberry Pi® , you're probably itching to make some fun embedded computer projects with it. What you need is an add on prototyping Pi Plate from Adafruit, which can snap onto the Pi PCB (and is removable later if you wish) and gives you all sorts of prototyping goodness to make building on top of the Pi super easy.
Note: This kit is best used for the Raspberry Pi Model A or Model B. You can use it with any "2x20 GPIO type" Pi (A+, B+, Zero, Pi 2, Pi 3) but only the 'top 26 pins' will be broken out for use
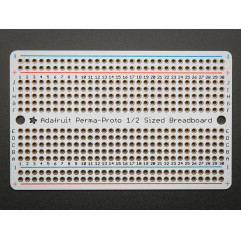
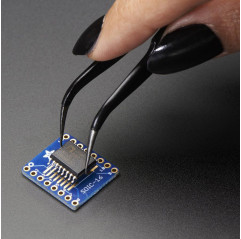
Adafruit added lots of basic but essential goodies. First up, there's a big prototyping area, half of which is 'breadboard' style and half of which is 'perfboard' style so you can wire up DIP chips, sensors, and the like. Along the edges of the proto area, all the GPIO/I2C/SPI and power pins are broken out to 0.1" stips so you can easily connect to them. On the edges of the prototyping area, (almost all of) the breakout pins are also connected to labeled 3.5mm screw-terminal blocks. This makes it easy to semi-permanently wire in sensors, LEDs, etc. There's also a 4-block terminal block broken out to 0.1" pads for general non-GPIO wiring. Finally, we had a little space remaining over the metal connectors so we put in an SOIC surface mount chip breakout area, for those chips that dont come in DIP format.
This kit comes as a set of parts, a little soldering is required to put it together but its really easy, even a beginner can do it in 15-20 minutes or so.The Pi (and our kits) are meant to help us all learn skills, soldering is fun! Check out the tutorial for how to assemble
The nice thing about this plate is we're getting custom header breakouts that are taller than usual, so that the proto plate sits above the metal connectors, out of the way and allows for plenty of workspace.
For more information, including some usage ideas check out the Proto Pi Plate tutorial
TECHNICAL DETAILS
EagleCAD PCB files, Fritzing object and more in the tutorial!
Serve up your Pi projects on a Prototyping Pi Plate, instructions!


