Among the various questions that are asked by those beginning to use 3D printing adhesives from Magigoo are two that return often:
- What is the best way to apply Magigoo adhesives ?
- How can I achieve a smooth Magigoo application without streaks/bubbles.
The recommended way to apply Magigoo
All Magigoo adhesives should be applied to a cool, clean construction surface. This ensures even application and protects the applicator from premature failure.
- Shake the bottle Magigoo for about 10 seconds
- Carefully open the cap while holding the bottle upright
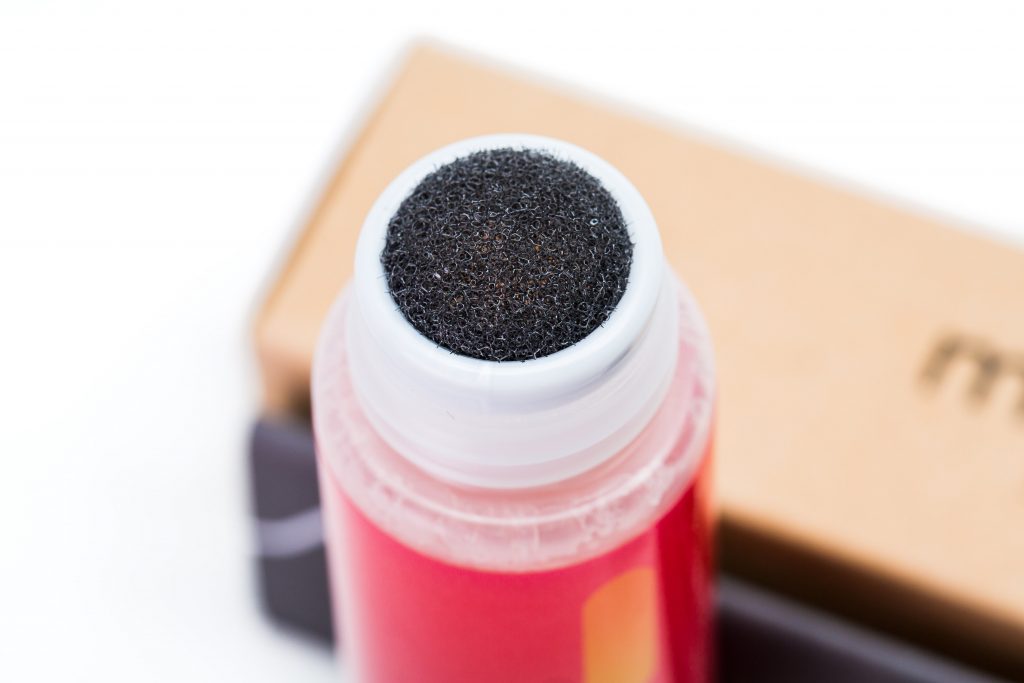
- Inspect the applicator tip for any residue or damage (clean any residue from the tip if necessary)
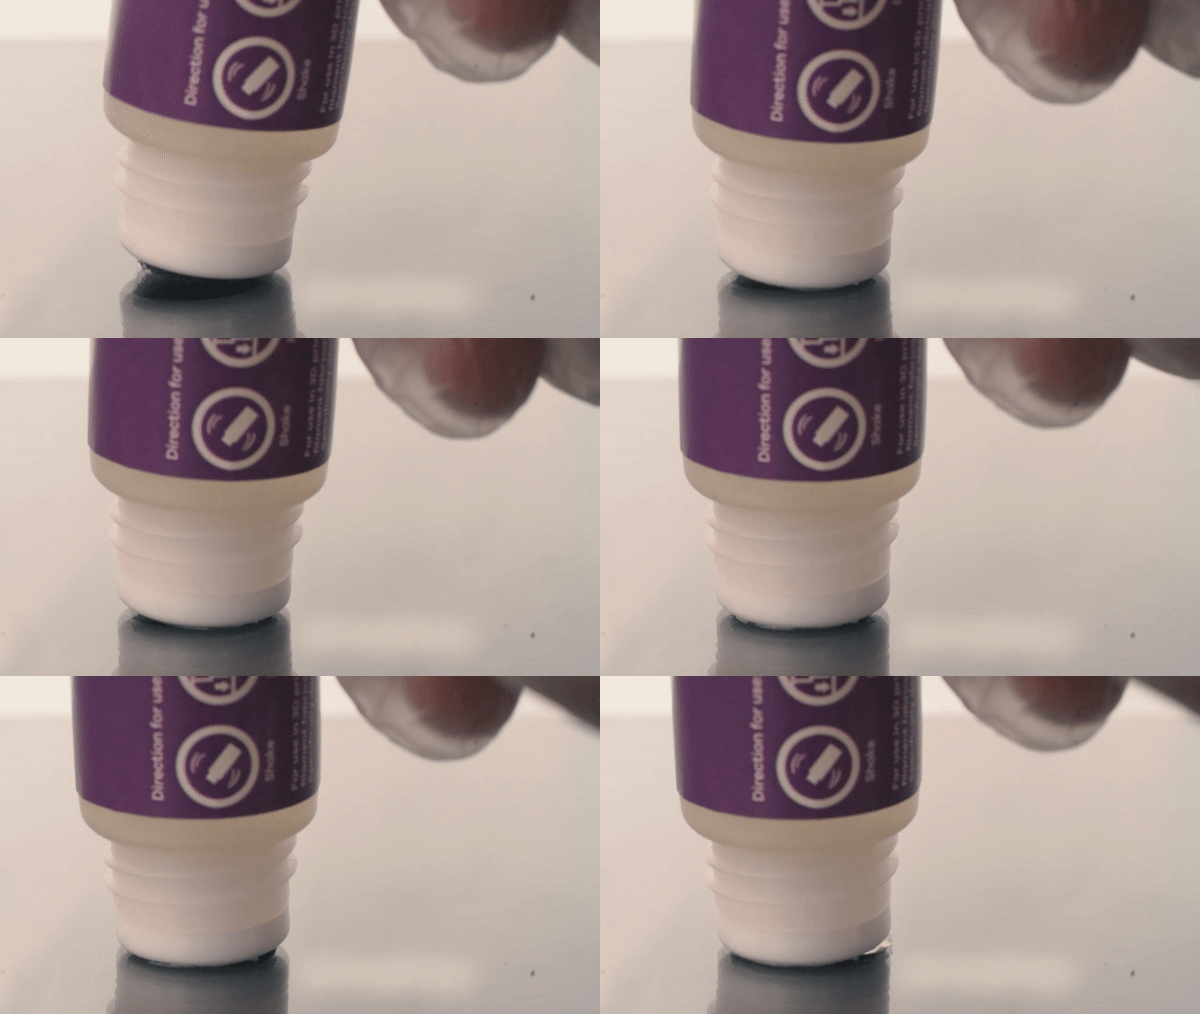
- Turn the bottle upside down and push the tip against the build plate in the corner of the printing area. Magigoo should begin to leak when the valve inside the applicator is activated, otherwise you can apply gentle pressure so that Magigoo begins to leak.

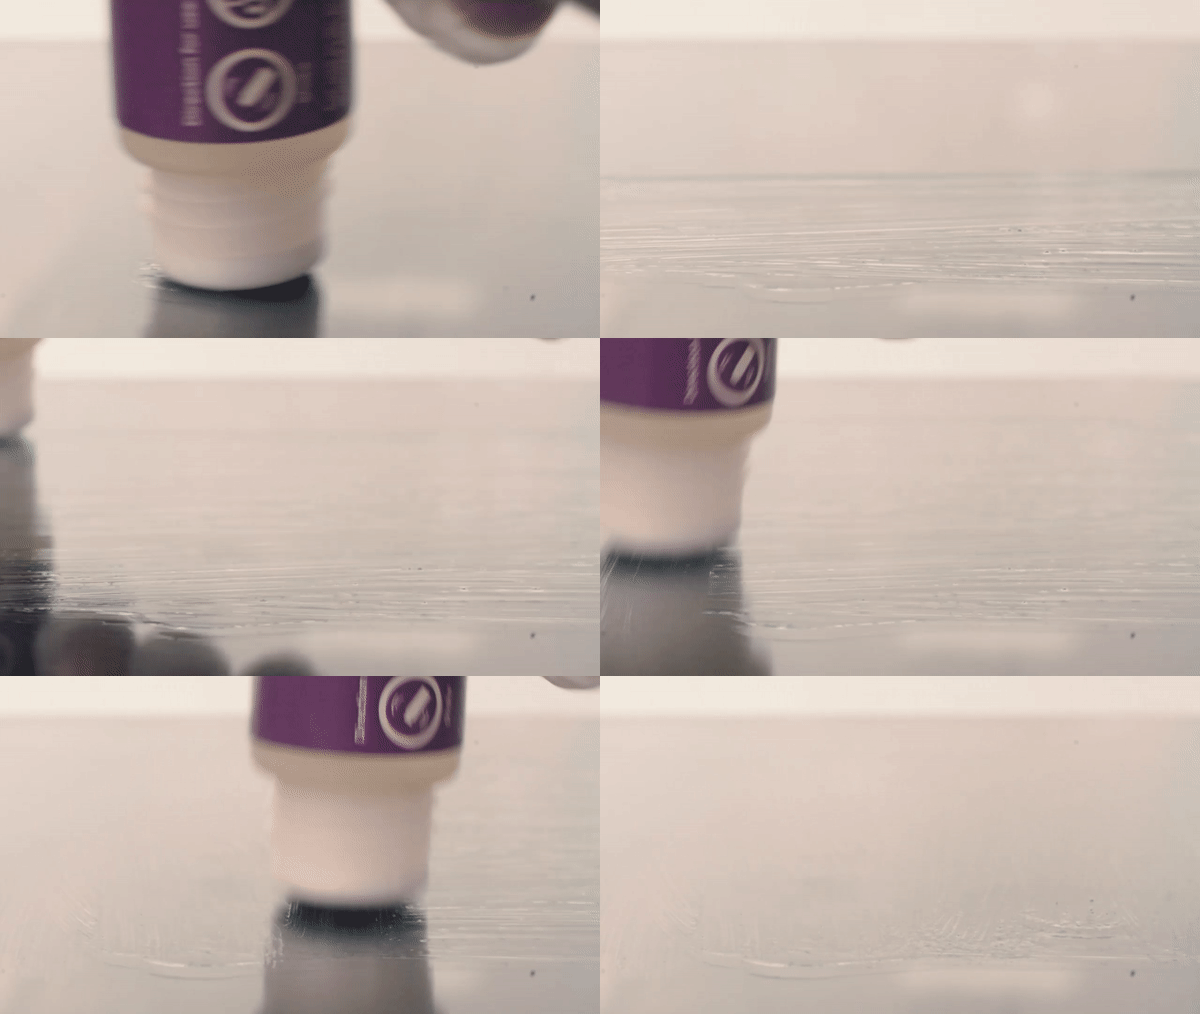
- Keeping the valve activated, apply Magigoo by moving the bottle back and forth until the entire print area is covered, horizontally (from left to right).
- Then smooth the adhesive layer over the print area once more, without activating the valve. This time move vertically (from top to bottom). This also ensures you leave no missed spots.

- You can repeat the sanding steps (alternating back and forth horizontal and vertical movements) until you get the desired surface finish. A smooth application Magigoo will give the underside of the print a mirror finish. A rough application may then result in a rougher finish on the underside of the print.
- The Magigoo layer will dry while the print bed is heating up.
- Now you can proceed with your printing!
In some cases vigorous agitation can trap bubbles in the adhesive. If you want to avoid air bubbles when applying Magigoo, wait a few seconds for the trapped air bubbles to dissolve before applying.
What if I want a smoother Magigoo application?
You can further smooth the Magigoo application by using the foam tip on the bottle before the Magigoo layer dries (as described above). In most cases this gives a reasonably smooth Magigoo application with few or no streaks. However, this may take some practice. We also recommend applying only a thin layer of adhesive Magigoo for a smooth, even finish.

Spreading with a paper towel.
In cases where you want to further smooth the application, you can do so using a slightly damp (plain water) paper towel or microfiber cloth. This has been suggested by some of our users and works well after some practice.
Dilute with a little water before spreading.
Another way to achieve a smooth glass-like finish is to slightly dilute the application Magigoo during application. This can be done by dropping or spraying a couple of milliliters of water while smoothing the application of Magigoo. Adhesives Magigoo are concentrated so they last longer, however, this makes them rather viscous. Diluting Magigoo will make it easier to spread into a thin, smooth layer.
How much Magigoo should I apply?
As a rule of thumb, a thin, even layer of Magigoo is sufficient to hold the piece without warping. This also ensures that the print is easy to remove once the part and build plate have cooled. From our and other users' experience, using too much Magigoo can make the part stick too much.
However, in cases where adhesion proves challenging, a second coat of Magigoo helps anchor the part better. This is not always true, however care should be taken when applying extra adhesive. Internal tests and third-party feedback have shown that a second coat of Magigoo helps during printing:
- Glass-filled PP with Magigoo PPGF
- Some types of nylon materials with Magigoo PA
- Some types of TPE materials with Magigoo Flex
Using excessive amounts of Magigoo with other materials and adhesive combinations is not recommended.
How should I clean and how often?
It is best to clean Magigoo immediately after the part is removed for a reliable and trouble-free printing experience.
Magigoo Original, PA, PC, Flex, HT and Metal can be easily cleaned by wiping with a damp cloth followed by a dry paper towel to remove all residue. In some cases, if the layer of Magigoo is left on the build plate for a very long time, it may harden and would require light rubbing with a sponge and some warm water to remove it.
Magigoo PP and PPGF can also be cleaned with a damp cloth, however, a couple of wipes may be needed to remove the white debris that forms once the layer is moistened. Alternatively, you can also place a damp cloth on the printing surface for a few minutes to soften the layer first which makes it easier to remove. Similar to other adhesives Magigoo, if the layer is left on the build plate for a very long time, it may require more effort to remove.
It is not recommended to use cleaning products such as detergents when cleaning Magigoo as they may interfere with the adhesion of future prints. If detergents are used, it is recommended that they be rinsed thoroughly before applying a new layer of adhesive. Alcohol can be used to remove any oils or lubricants that may have gotten on the build plate.
Credits @magigoo.com


