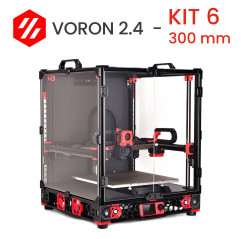
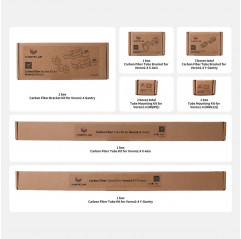
Voron 2.4 STEP 6: Z/XY + Z axis belt probe
This sixth step for building your Voron 2.4 r2 consists of the components for mounting the gantry inside the printer frame. In fact, with this step you complete the kinematics of your 3D printer Voron 2.4.
So the main components are the Gates belts and the sensor that will then allow automatic leveling of the gantry (coreXY system) with respect to the printing plane.
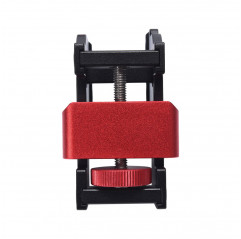
We proceed by installing the Z bearings blocks to which the h9mm belt is attached. Once all 4 blocks are installed on gantry you proceed to mount the latter. You can help yourself by using the clamps included in the kit to support the gantry while fixing it (alternatively you can have a second person help you support the gantry while fixing the 4 straps along Z). You then go on to install the z joints. Finished with the Z-axis you then move on to the A/B straps of the coreXY system. In this step you also mount the Z-axis sensor on the X carriage.
At this point the X-axis carriage will be ready for the next step where you will go to install the extruder assembly and hot-end (Afterburner or StealthBurner).
What are the features of this STEP 6?
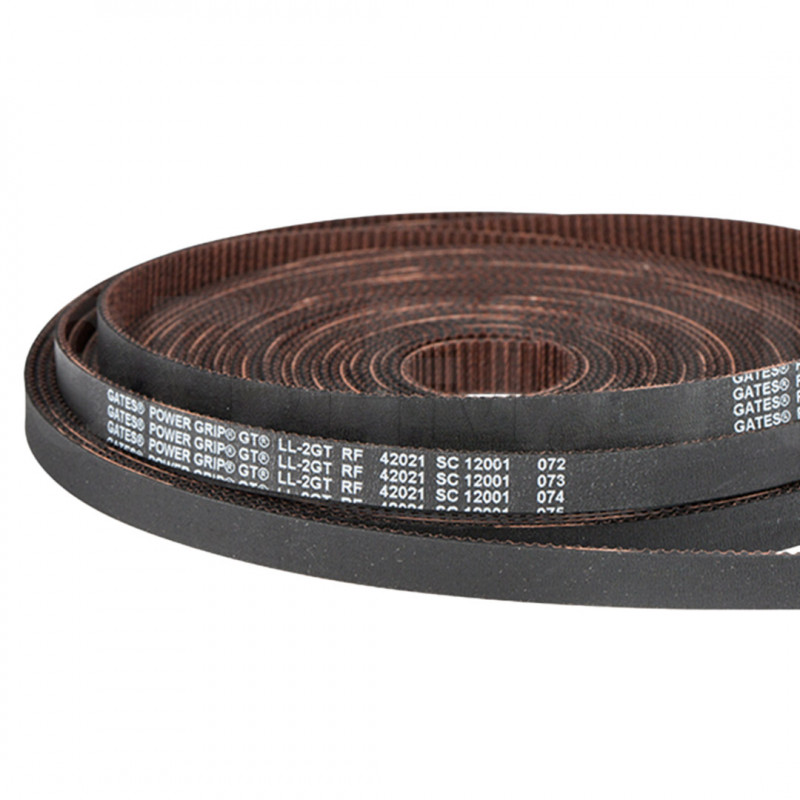
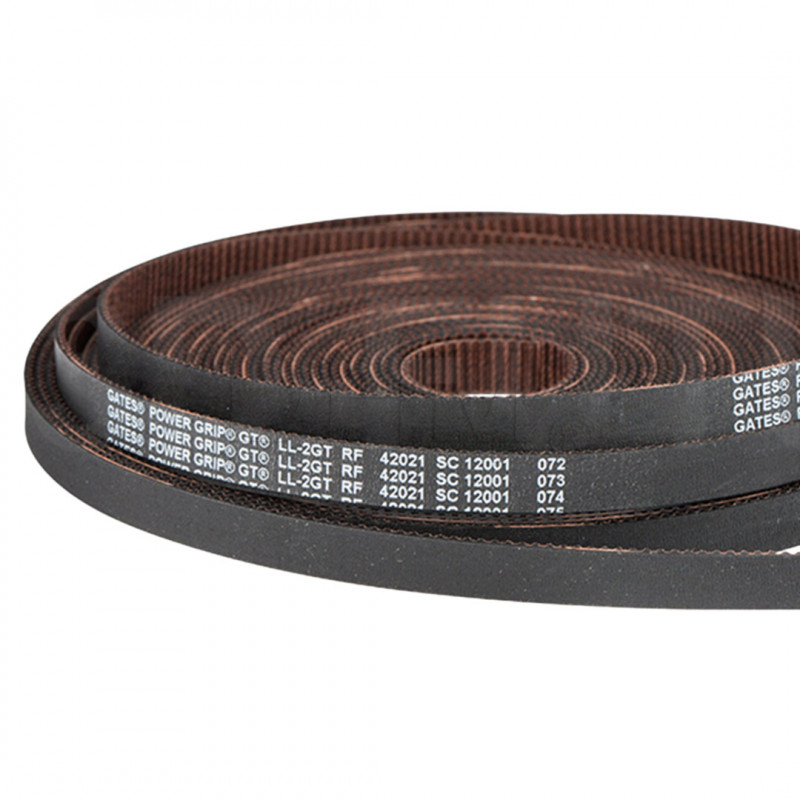
- Gates belts: the kit includes the belts needed to move the axles. Gates GT2 belts are made of fiberglass-reinforced rubber, which is resistant to chemicals, more wear-resistant and does not stretch under stress. They are then covered on the outside in contact with the pulley with a nylon fabric that covers the belt compound and acts both as a wear-resistant surface (protecting the teeth) and as an added grip.
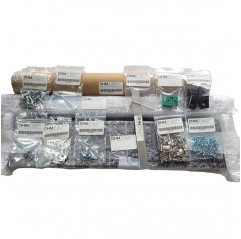
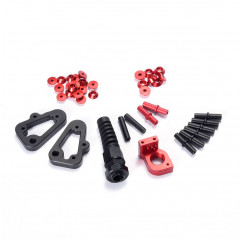
- Hardware and other hardware: the kit also includes all other useful fastening components, from screws to nuts. Also included are brass inserts to be used for plastic fasteners, as well as necessary shafts and bearings to couple to the pulleys.
- Self-levelling sensor of your choice.
Here the options for the print bed leveling sensor (Z probe)
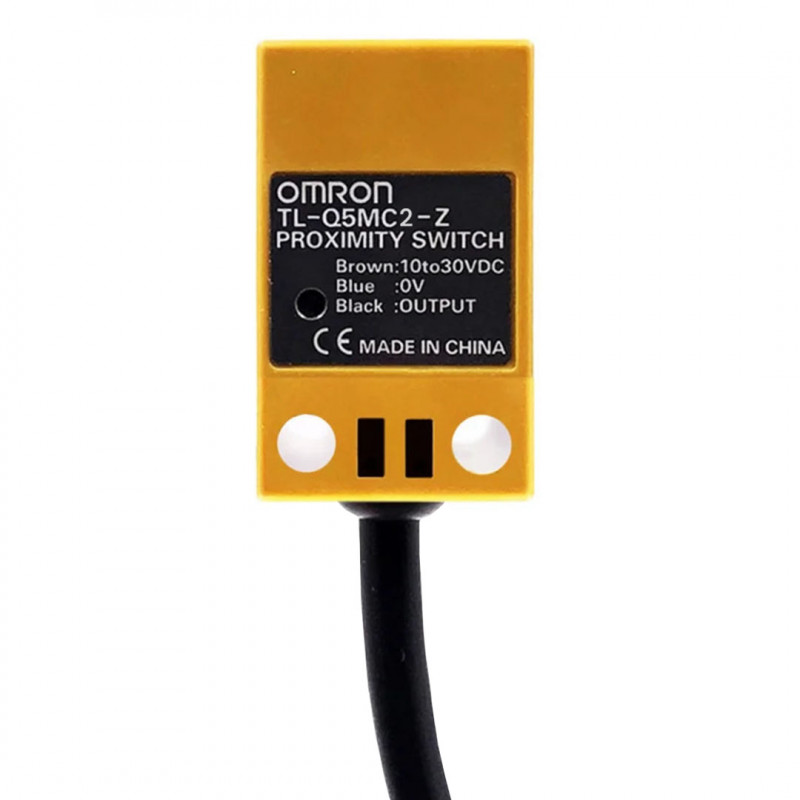
Inductive proximity sensor TL-Q5MC2-Z
Several options are available for the self-leveling sensor, such as mechanical sensors like the BL-touch or Klicky Probe, or proximity sensors like the Omron TL-Q5MC2-Z. The latter are very accurate, but they can be affected by temperature and can give measurements with a high error. However, if the Duet3D system is used, it is possible to enter correction parameters that, based on the temperature of the printing plane and that ofhot end, can keep the measurement error that accumulates with respect to the temperature curve under control. Thus, the Omron TL-Q5MC2-Z sensor remains one of the most reliable and accurate solutions when coupled with a Duet3 board.
Voron TAP
There is an Voron official alternative to inductive sensors; in fact, a dedicated mods has been released for the extruder carriage to allow electromechanical calibration. It is the Voron TAP! We have tested it and can confirm the actual benefits of this upgrade, among them:
- it does not require calibration based on the different temperature of use
- the entire calibration system is not affected over time by the high temperatures ofhotend and the printing surface
- multiple printing surfaces can be used if needed, such as even glass (not compatible with inductive sensors)
- effective but very simple mechanism (position reading is handled by a limit switch)
- integrates seamlessly with BUS systems by configuring it on an input like a mechanical touch probe
Only real disadvantage: it adds some weight to the printhead.
Minor accouterments for optimal operation can be as follows:
- Heating and cleaning the nozzle before use;
- Lubrication and periodic check for any play between the skid and the printer parts;
- As with all automatic calibration systems with offset set relative to the nozzle, the actual height above the plane must be checked each time nozzle changes/replacements are made or hot-end.
Version of Voron TAP
Three different versions of Voron TAP have been developed by the Voron group
:
- Wired optical sensor
- pcb-based sensor
- D2HW-C203MR mechanical switch
Both the optical and mechanical versions are capable of 0.4 µm accuracy (assuming the rest of the printer is in good condition), so there is no difference from a quality point of view.
In this STEP6 of Voron 2.4r2 by DHM, our team chose to provide the mechanical switch version because Octotap rev2.1 has been shown to have some problems due to the PCB configuration and a potential fire hazard.
Note for assembly
- STEP 6 involves inserting gantry into the frame and attaching it to the z-axis straps. During this procedure you must carefully check the steps in the manual. The straps must pass through the appropriate spaces in the plastics at the 4 corners of gantry. Since a printer consists of various components and assembly steps, even if you follow the manual to the letter, small mistakes may accumulate. So, in case you notice chafing you have to adjust the components so that the feedback is respected.
- For X- and Y-axes, remember that the Voron V2.4 printers use a belt path based on the model CoreXY. It is very important to consult the manual to comply with the various feedbacks of the two belt circuits A and B. Finally, it is good to check that the belt tension is uniform along the entire path. We recommend an additional tensioning check after 2 to 3 hours of printing. After an initial printing, in fact, the belt will have taken the shape of the path and re-tensioning may be necessary. The quality of the original Gates belt supplied in our kits will not require further adjustment until after a few thousand hours of printing.
- The z-probe sensor (in the case of this kit the TL-Q5MC2-Z from Omron) will come during printing into contact with high temperatures. This is because it is installed a few millimeters fromhot-end, but also because during auto-leveling and the first few layers of printing it comes into close contact with the heated platen. Its maximum working temperature stated by the manufacturer is +80°C continuously (with peaks from +120°C), and in some cases during printing this temperature can be exceeded. Therefore, we also provide in the kit a special tape to coat it and ensure its longer life. This is a glass fiber PTFE tape that can withstand continuous temperatures of +260°C (and peaks of +300°C). the sensor will need to be coated on the front side.
- In case Voron TAP is chosen instead, this is about 3 mm thicker than the standard 2.4R2 carts. Because of this the extruder assembly will be closer to the front doors of the machine, so make sure you have sufficient space. You may need to adjust the position of the worktable.
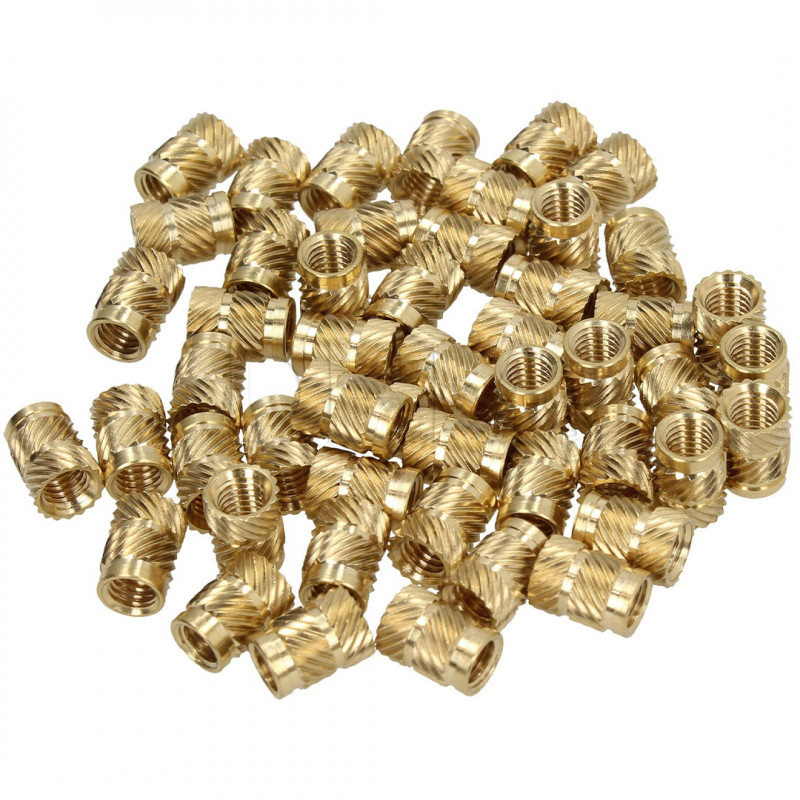
- We include brass grub screws for attaching plastics in the kit. These threaded inserts have a special spiral profile to ensure the best possible seal. Manufactured from high-quality brass, they have excellent thermal conductivity and corrosion resistance.
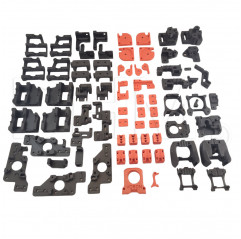
- Plastics are not included by default but are optionally selectable. If they are selected all structural and aesthetic parts will be provided. Aiming for maximum quality, we have narrowed down the possible choices to two materials: Nylon Carbon and ASA. The former has excellent physical-mechanical properties, and the latter, a viable substitute for ABS, has optimized mechanical properties, UV resistance, and allows for extensive color customization. We have divided the printed parts into three groups: STRUCTURAL - PRIMARY - SECONDARY. Using these combinations you can get a unique specimen by choosing from more than 200 color combinations. Customization makes your Voron 2.4 personal and representative of your style!
Voron 2.4: an introduction
The Voron 2.4 is a motion 3D printer design CoreXY with a fixed plane conceived by Voron Design. This printer is known for its reliability and high performance.
Staying true to the fundamentals of the RepRap project, the Voron 2.4 is completely open-source, customizable and self-buildable.
The DHM kits of Voron 2.4 were born out of the need to meet the various requests of our customers: from those who struggle to find materials to those who have pointed out gaps and critical points in the kits already commercially available. The kits DHM arise from our experience in the 3D printing industry and knowledge of quality manufacturers. In addition, thanks to our in-house workshop, we have created custom components by making design improvements to give optimal reliability and performance.
The DHM kits from Voron 2.4 are currently available in 3 main variants that differ only in the size of the build space:
Kit Voron 2.4 250 mm → 250x250x250 mm
Kit Voron 2.4 300 mm → 300x300x300 mm
Kit Voron 2.4 350 mm → 350x350x350 mm
There is the possibility of some customization in some step of the kit, such as the choice of the extruder or the choice of the control board.
Do you want to build your own 3D printer Voron 2.4?
Our step-by-step kits for Voron 2.4 include 9 step + an optional tenth. In each step you will find the components for assembly accompanied by a manual with construction instructions and cautions.
We decided to divide the construction of Voron 2.4 into several steps to facilitate the assembly moments and also to allow for deferred purchase over time. We aim for quality and reliability of components rather than offering a cheap or incomplete kit.
Why buy a Voron 2.4 kit?
Owners of the Voron 2.4 praise it for its reliability and speed. Buying a kit printer allows you to customize various points: from the appearance, to the choice of size, type of electronics, extruder, and many others.
The Voron 2.4 DHM kit approach is to STEP: a step-by-step approach to building, each in his or her own time, a printer Voron. Each step has everything you need to finish that specific part of assembly, and this allows you to be able to pause the project and resume it without particular difficulty.
We have broken down and customized some of the steps in the official guide Voron into specific manuals for each step downloadable PDF. You will thus find step-by-step support for assembly. The manual for this step is available in the "Attachments" section of this page.
Keep an eye on our BLOG:
https://www.dhm-online.com/en/blog/printers-3d-voron-design-c13
The kit contains (BOM STEP 6 V2.4 300 mm):
4 x M5 galvanized hex nut
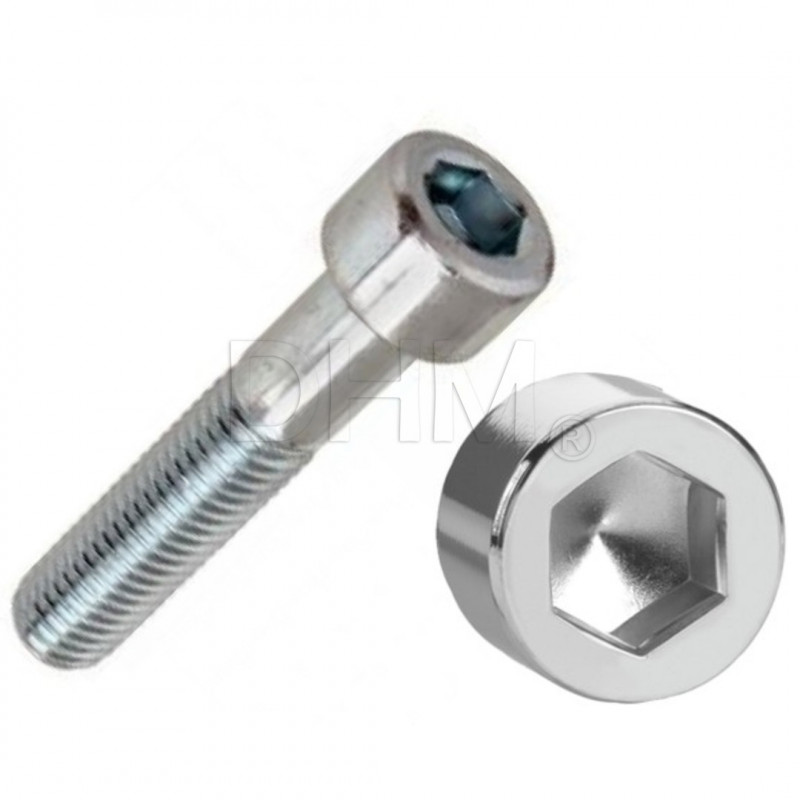
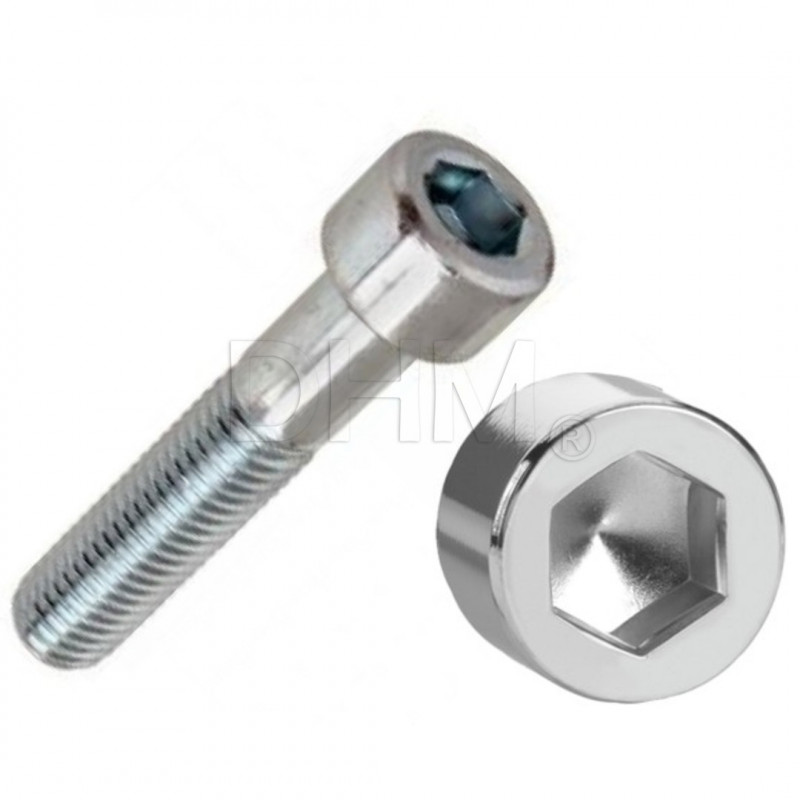
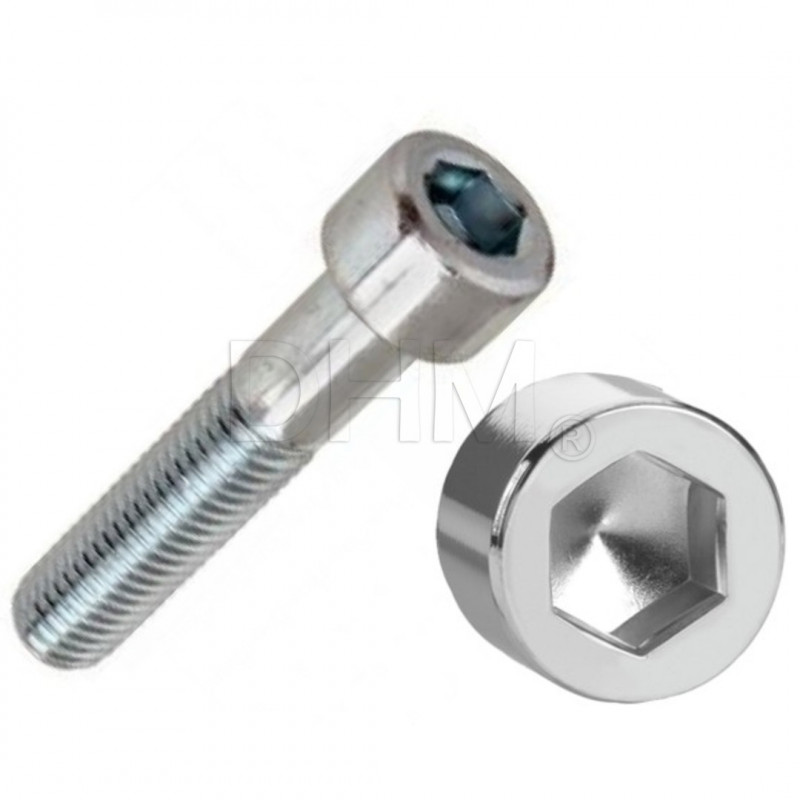
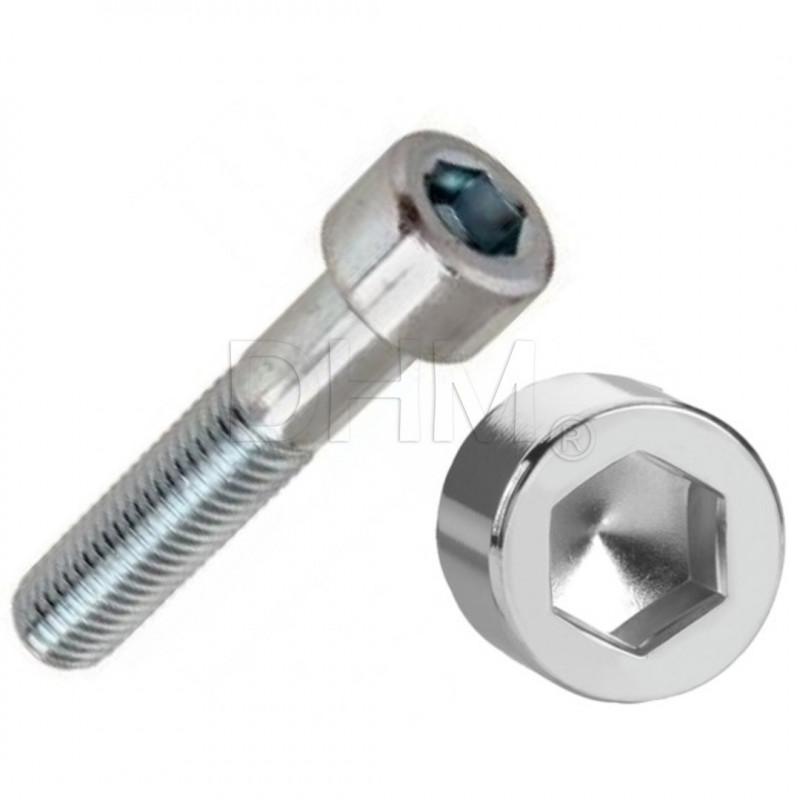
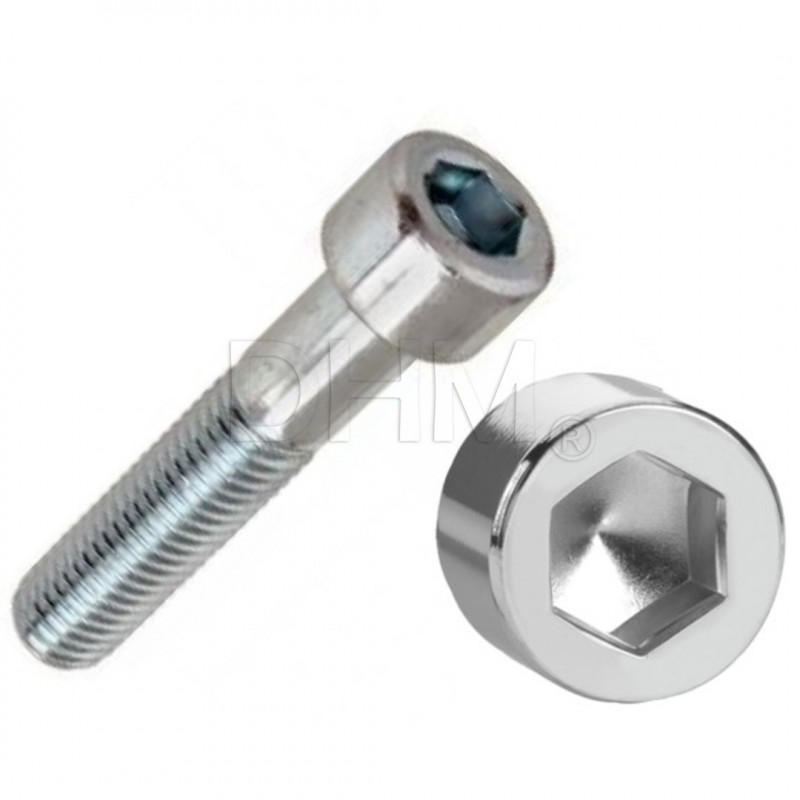
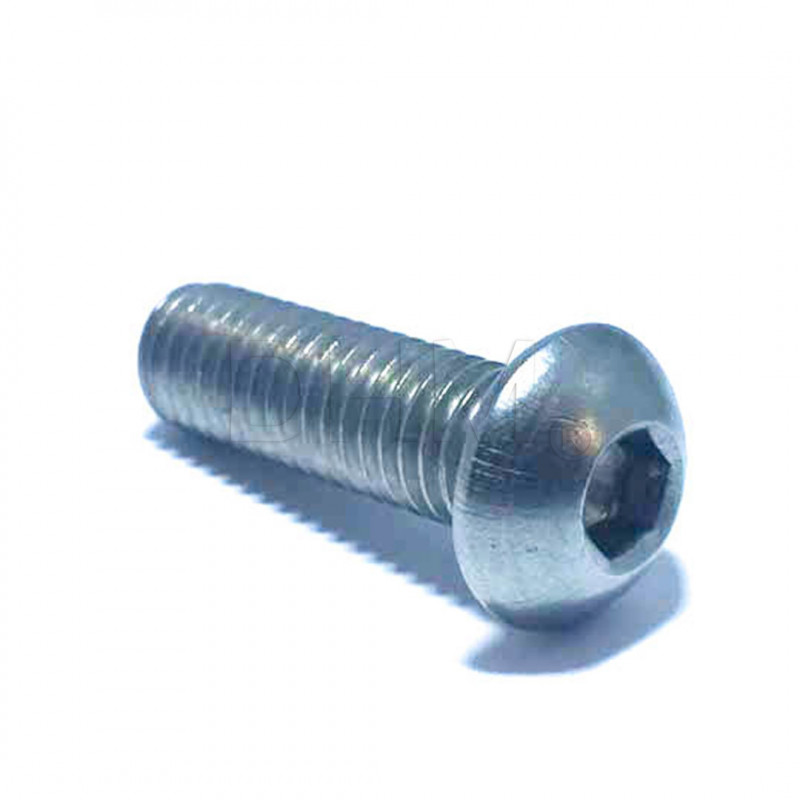
4 x 5x30 galvanized socket round head screw
4 x Cylinder head screw with galvanized socket recess 3x30
4 x 1100mm GT2 Powergrip Gates H 9mm belt (in one piece to be cut)
16 x Cylinder head screw with galvanized socket recess 3x20
4 x Cylinder head screw with galvanized socket recess 5x40
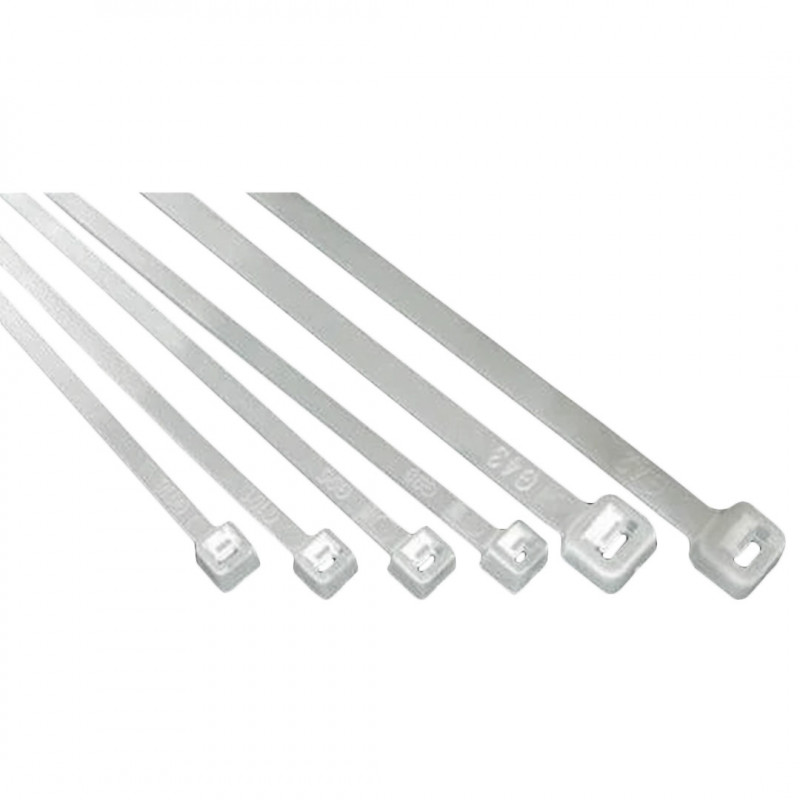
4 x Natural nylon tie 450x7.5 mm
2 x 1800mm GT2 Powergrip Gates H 6mm strap (in one piece to be cut)
2 x M3 galvanized hex nut
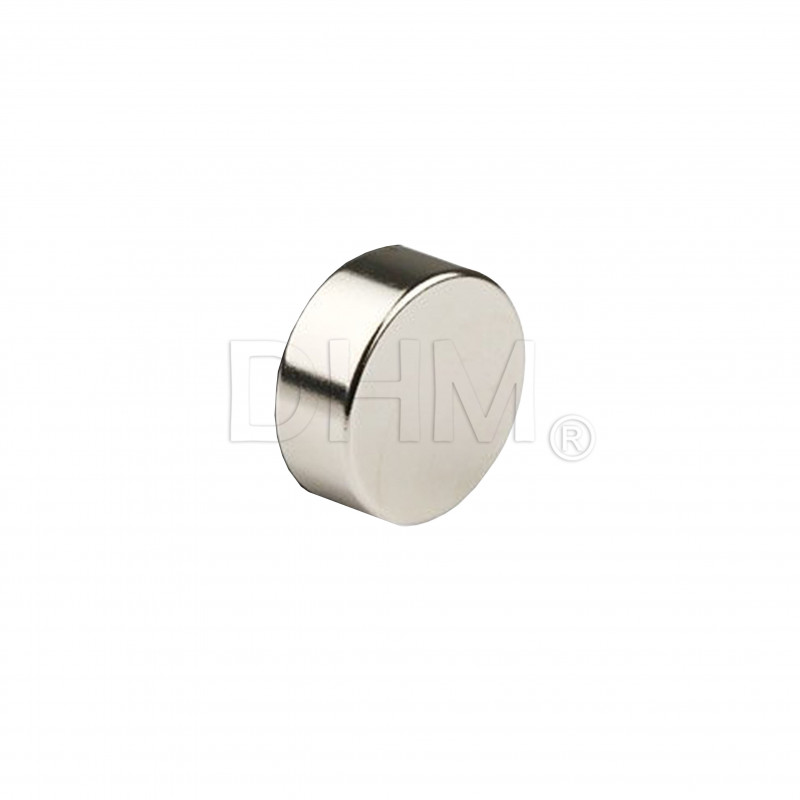
2 x Neodymium disk Ø 6mm H 3mm magnet
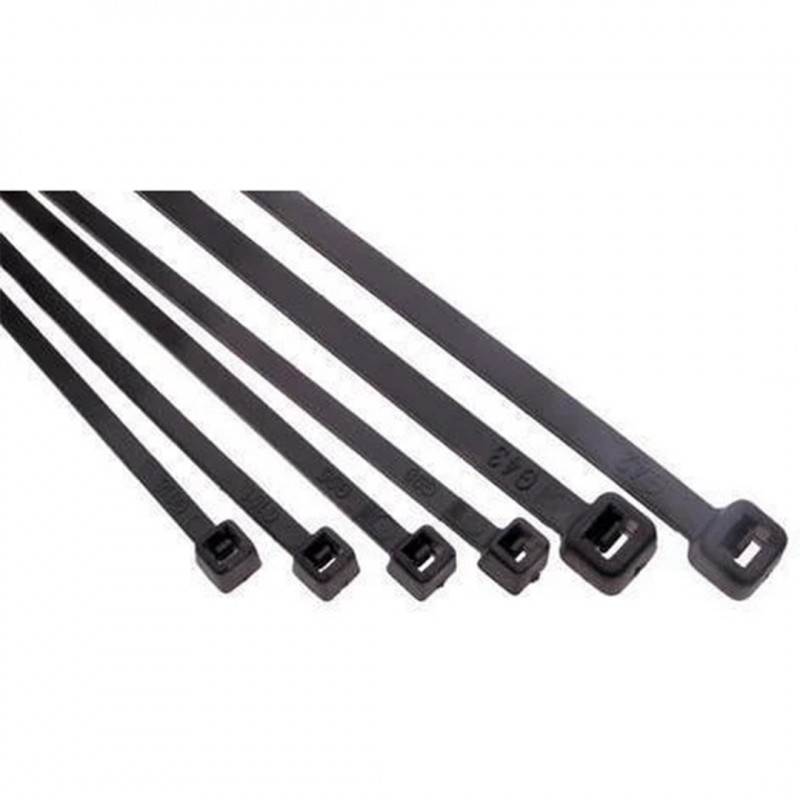
4 x Black nylon cable tie 100x2.5mm
Choosing the inductive sensor:
1 x TL-Q5MC2-Z Inductive Proximity Sensor - Omron
2 x 3x12 zinc-plated socket head screw
4 x Cylinder head screw with galvanized socket recess 3x8
1 x Cylinder head screw with galvanized socket recess 3x40
3 x Cylinder head screw with galvanized socket recess 3x30
4 x Brass threaded insert M3 - 3x4x5 mm
Choosing, as an alternative, Voron TAP:
1 x Galvanized 3x12 socket head cap screw
5 x Cylinder head screw with galvanized socket recess 3x8
12 x Brass threaded insert M3 - 3x4x5 mm
2 x Neodymium disk Ø 6mm H 3mm magnet
1 x MGN9 440C 50mm Linear Guide with MGN9H Carriage
2 x 3x20 cylindrical head screw with galvanized Allen recess
2 x Screw 3x16 cylindrical head with galvanized socket recess
2 x Screw 3x10 cylindrical head domed with allen socket recess galvanized
1 x Screw 3x6 cylindrical head with galvanized socket recess
2 x Screw 3x6 countersunk flat head with allen socket recess galvanized
10 x Screw 3x6 cylindrical countersunk head with Allen recess galvanized
1 x Omron D2HW-C203MR Limit Switch
6 x 3x7 mm galvanized flat washer for M3 screws
Check out related products for the next and previous STEP!


