Voron 2.4 STEP 2: printing platen
This second step for the construction of your Voron 2.4 consists of the components for building the printing base and heated platen.
The Voron 2.4 printer base rests on the aluminum frame assembled with the first assembly step:
https://www.dhm-online.com/voron-2-4/10533-kit-voron-24-350-mm-step-step-1-frame-linear-rail.html
You now take charge of the various components to achieve a quality, uncompromising printing plan.
The highlights of this step are definitely the ground aluminum top, the heated silicone pad with built-in safety thermal control at 150°C, the magnetic adhesive sheet, and the harmonic steel top with PEI coating on both sides that serves as the printing surface.
What are the features of this STEP 2?
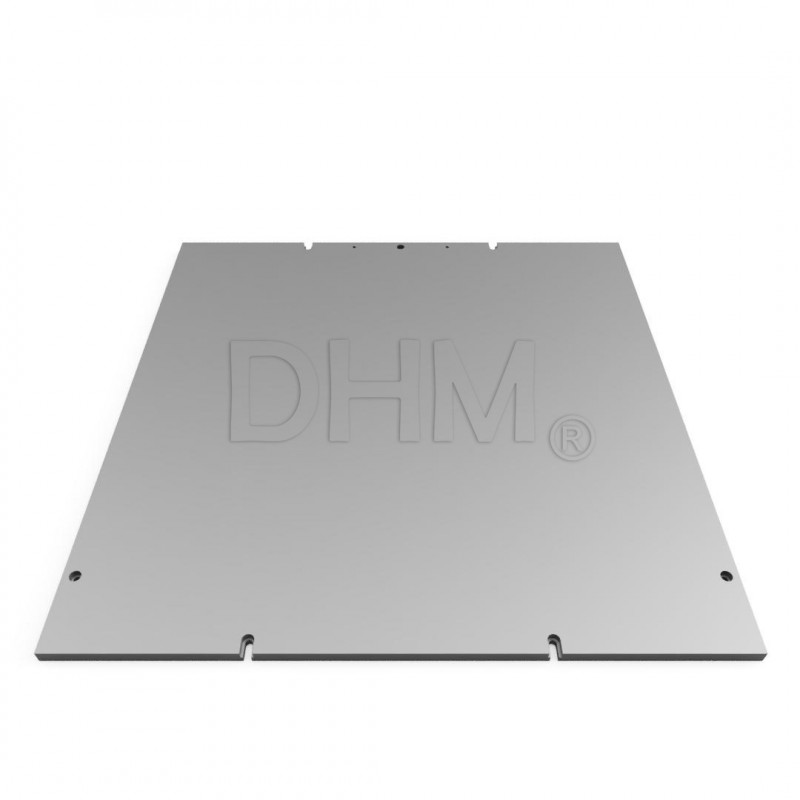
- Aluminum top EN AW 5083 ground on both sides: CNC-machined with slots and holes according to center distances of the official design Voron. We remind you that you must remove the protective film before you can use it. We recommend the use of low head screws for installation to prevent them from protruding from the ground surface.
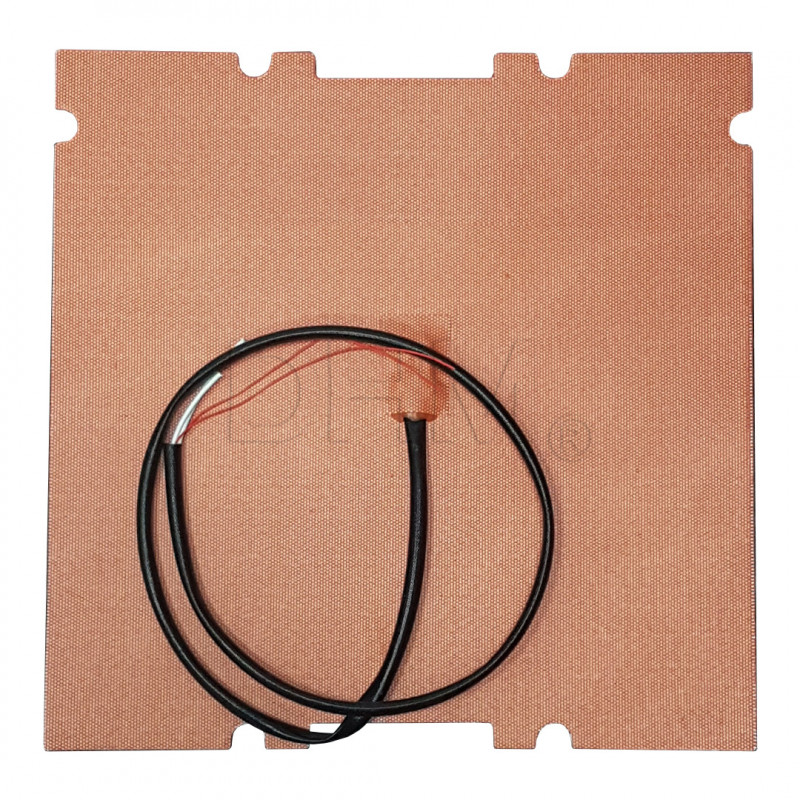
- Silicone pad: the Arlon® silicone pad features a built-in temperature probe (thermistor EPCOS100K) to be connected to the electronics used. It also features a 150°C thermostat relay. It reaches 100°C in minutes, making even the pre-press heating phase of engineering plastics that require build surface temperatures in the 120°C range quick.
The silicone top is supplied with 3M adhesive for attachment to the aluminum top.
There are slots in the sides of the silicone platen to allow for custom installation of fastening screws. The special shape of this plate ensures maximum coverage of the area of the aluminum top used as a base.
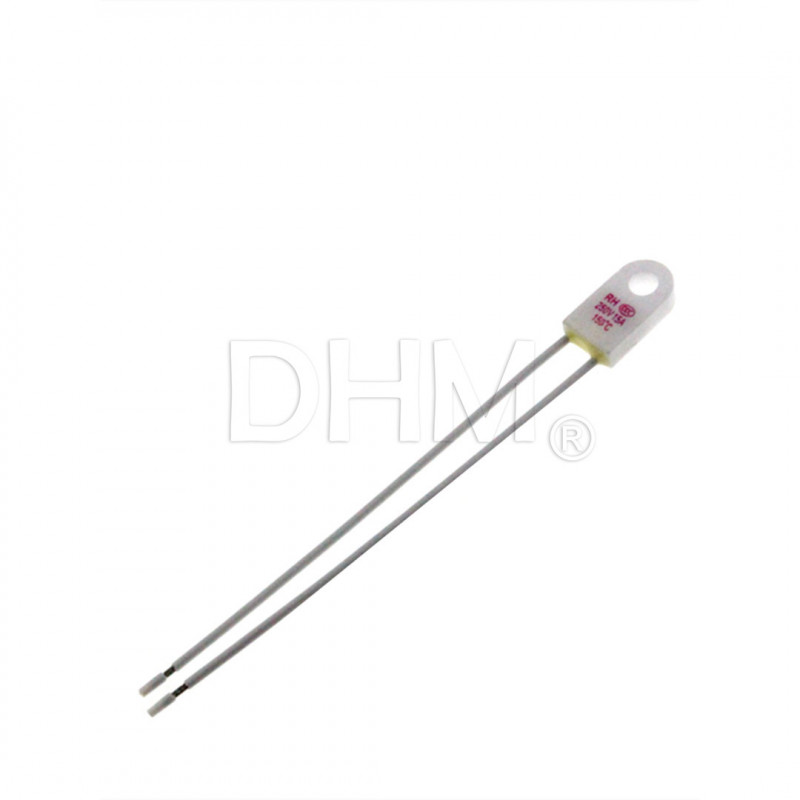
- Thermal fuse 125°C 15A 250V to be used as additional safety as per official design Voron
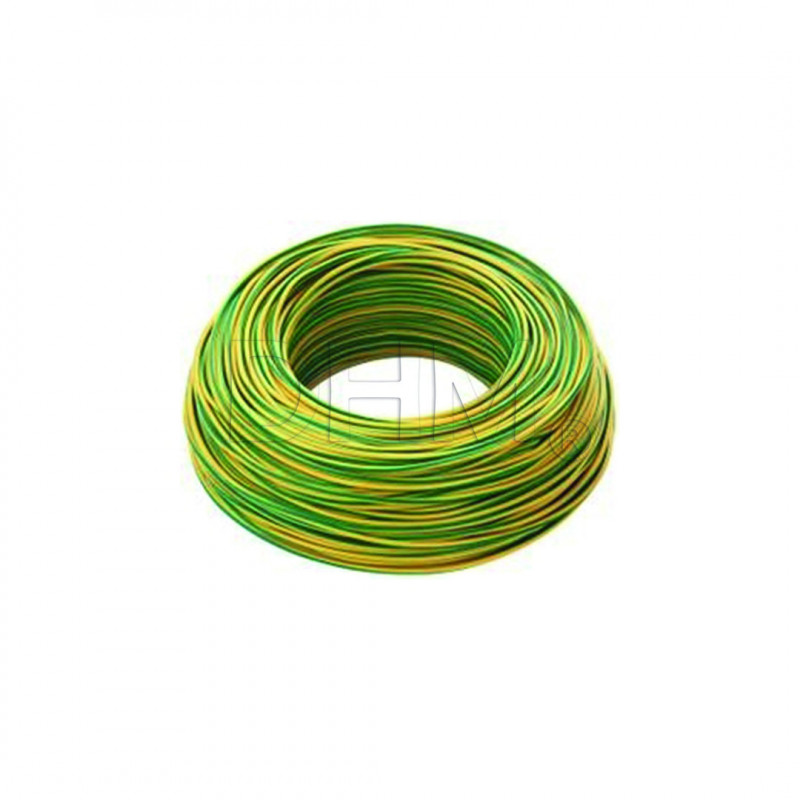
- CABLE FS17 1 GV - Rope FS17 1X1 G/V for grounding the printing platen (ABSOLUTELY REQUIRED installation as you are working with AC current)
- Magnetic plane for 3D printer - magnetic base with 3M adhesive backing: anisotropic and multiply magnetized magnetic sheet, 1 mm thick. Can be used with an operating temperature of 130°C (up to peaks of 200°C).
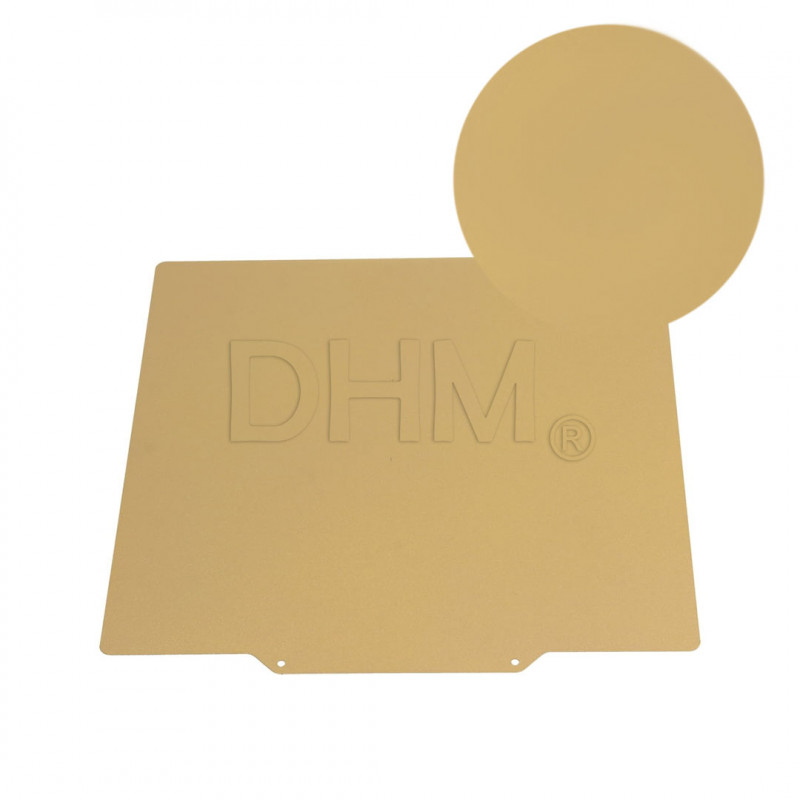
- Plane harmonic steel + PEI double side: one textured side and one smooth side to be used according to printing requirements.
Note for assembly
- We also provide in this step the thermal safety fuse recommended in the official design Voron. This is to be installed in series with the 220V power supply of the silicone pad (see PDF guide for installation). Although the silicone heating pad has a built-in control, safety is never enough. For example, if you were to burn out the thermistor, if the board does not detect the temperature probe correctly, if you mis-code the thermistor during programming, it can lead to overheating of the top with all the risks that entails. In that case, the thermostat built into the silicone pad comes into play, which stops the heating by cutting off the current flow and resetting it after the temperature is within limits. The thermal fuse, on the other hand, in case 125°C is reached, blows, cutting off the current flow. It is therefore necessary to replace it in case it fails due to a malfunction.
- We suggest installing a layer of insulation between the heated top and the bottom of the machine. This increases the thermal gap between the printing area and the part below where the electronics are mounted. It also goes to improve the even distribution of heat on the platen. The insulation layer must be of material appropriate to the operating temperatures of the heated platen with which it will come in contact.
- Also supplied with this STEP 2 is the "deck panel." This is a laser-machined PMMA panel that has the holes and slots necessary for installation according to the official guide Voron. It is advisable to install it, unlike the other panels, at the time of assembly of the printing deck. As it is in fact located in the space between the platen and the electronics, it cannot be mounted later. Being made of PMMA, it allows for insulation between the heated platen and the DIN bars to which the electronics are attached.
Voron 2.4: an introduction
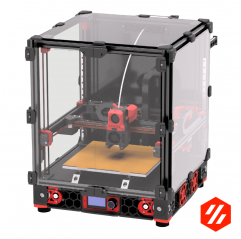
The Voron 2.4 is a motion 3D printer design CoreXY with a fixed platen conceived by Voron Design. This printer is known for its reliability and high performance.
Staying true to the fundamentals of the RepRap project, the Voron 2.4 is completely open-source, customizable and self-buildable.
The DHM kits of Voron 2.4 were born out of the need to gather the various requests of our customers: from those who struggle to find the material to those who have pointed out gaps and critical points in the kits already commercially available. The DHM kits are born from our experience in the 3D printing industry and knowledge of quality manufacturers. In addition, thanks to our in-house workshop, we have created custom components by making design improvements to give optimal reliability and performance.
The DHM kits from Voron 2.4 are currently available in 3 main variants that differ only in the size of the build space:
Kit Voron 2.4 250 mm → 250x250x250 mm
Kit Voron 2.4 300 mm → 300x300x300 mm
Kit Voron 2.4 350 mm → 350x350x350 mm
There is the possibility of some customization in some step of the kit, such as the choice of the extruder or the choice of the control board.
Do you want to build your own 3D printer Voron 2.4?
Our step-by-step kits for Voron 2.4 include 9 step + one optional tenth. In each step you will find the components for assembly accompanied by a manual with construction instructions and cautions.
We decided to divide the construction of Voron 2.4 into several steps to facilitate the assembly moments and also to allow for deferred purchase over time. We aim for quality and reliability of components rather than offering a cheap or incomplete kit.
Why buy a Voron 2.4 kit?
Owners of the Voron 2.4 praise it for its reliability and speed. Buying a kit printer allows you to customize various points: from the appearance, to the choice of size, type of electronics, extruder, and many others.
The Voron 2.4 DHM kit approach is to STEP: a step-by-step approach to building, each in his or her own time, a printer Voron. Each step has everything you need to finish that specific part of assembly, and this allows you to be able to pause the project and resume it without particular difficulty.
We have broken down and customized some of the steps in the official guide Voron into specific manuals for each step downloadable PDF. You will thus find step-by-step support for assembly. The manual for this step is available in the "Attachments" section of this page.
Keep an eye on our BLOG:
https://www.dhm-online.com/en/blog/printers-3d-voron-design-c13
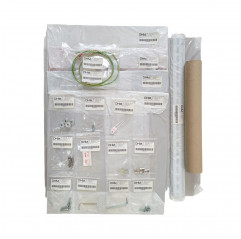
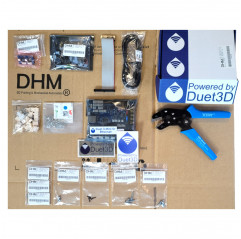
The kit contains (BOM STEP 2 V2.4 350 mm):
1 x 125°C 15A 250V thermal fuse
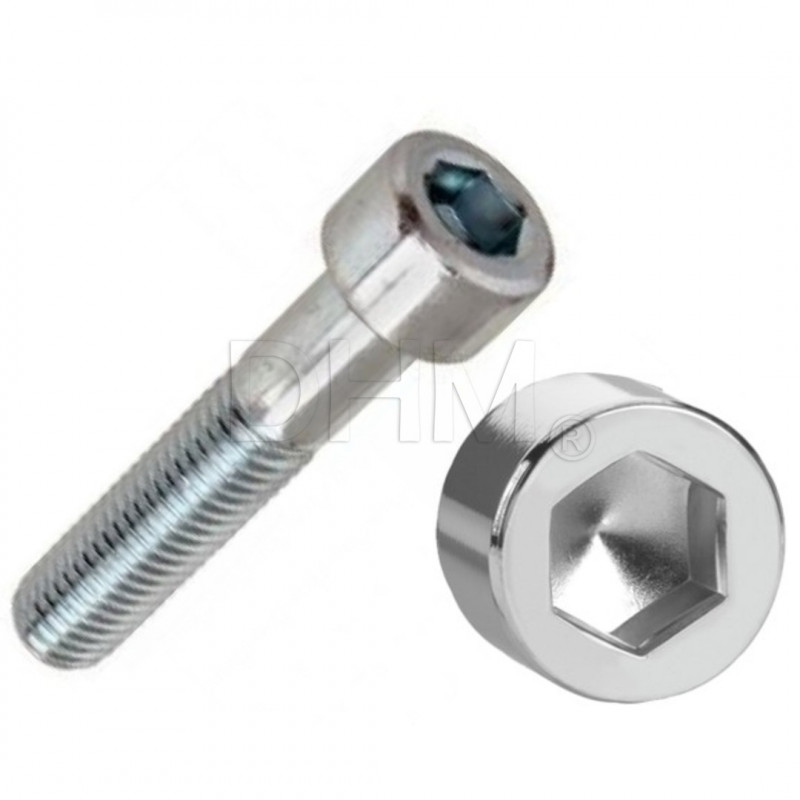
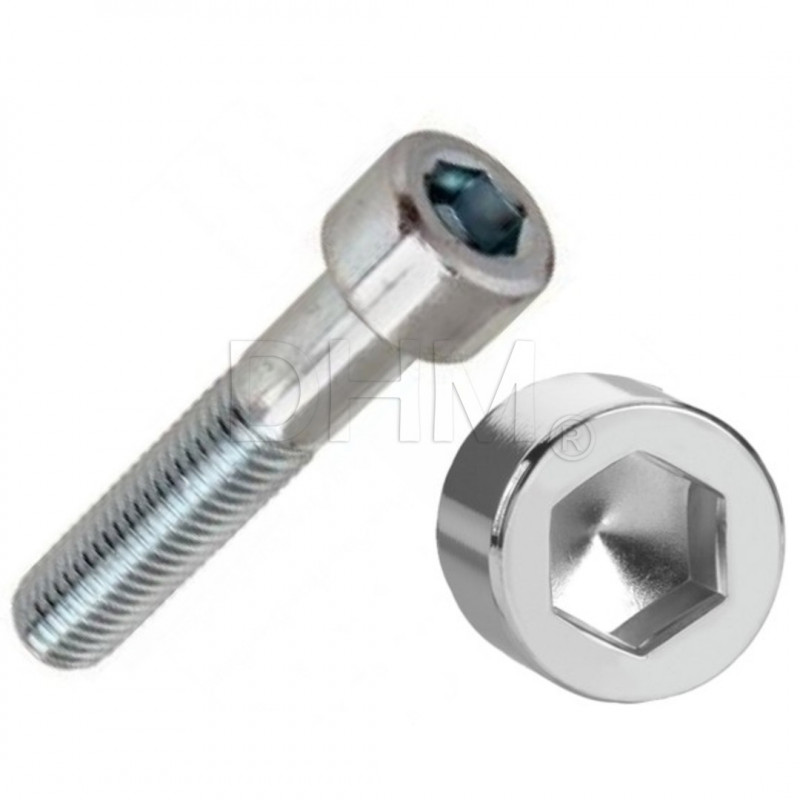
1 x Galvanized 4x10 socket head screw (for fuse)
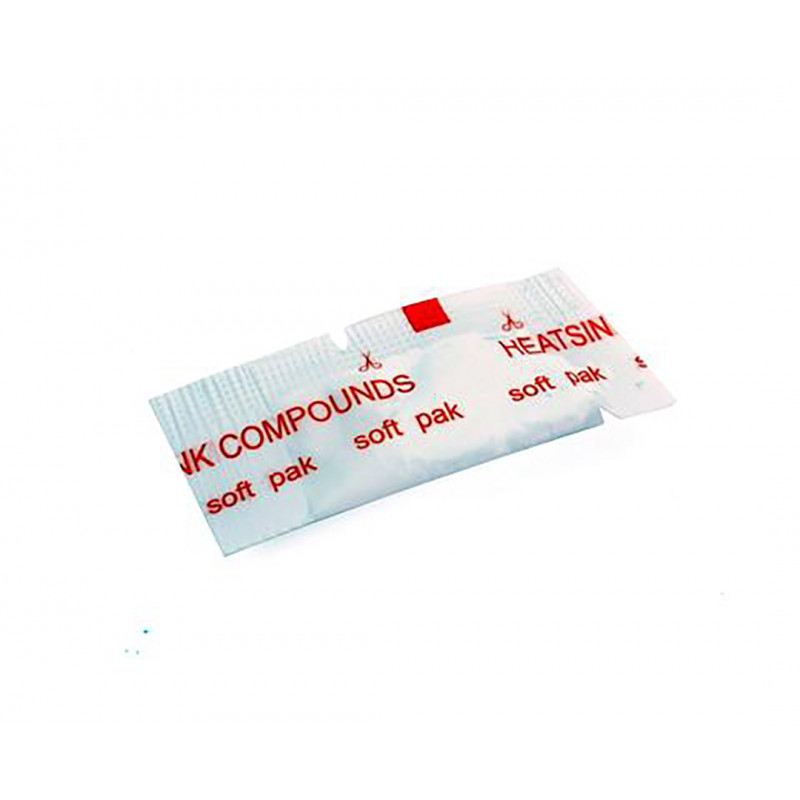
1 x Thermal Compound Paste
1 x Cylinder head screw with galvanized socket recess 4x6 (for grounding)
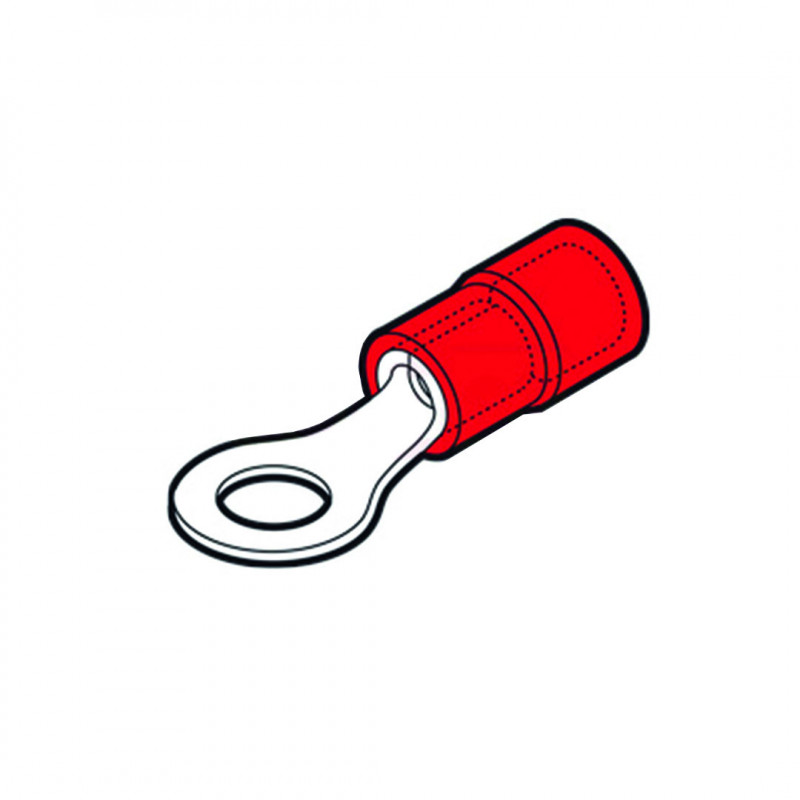
1 x RF-M4 - RED EYE CAP screw 4mm
1 x FS17 CABLE 1 GV - FS17 ROPE 1X1.5 G/V
1 x Ground aluminum top EN AW 5083
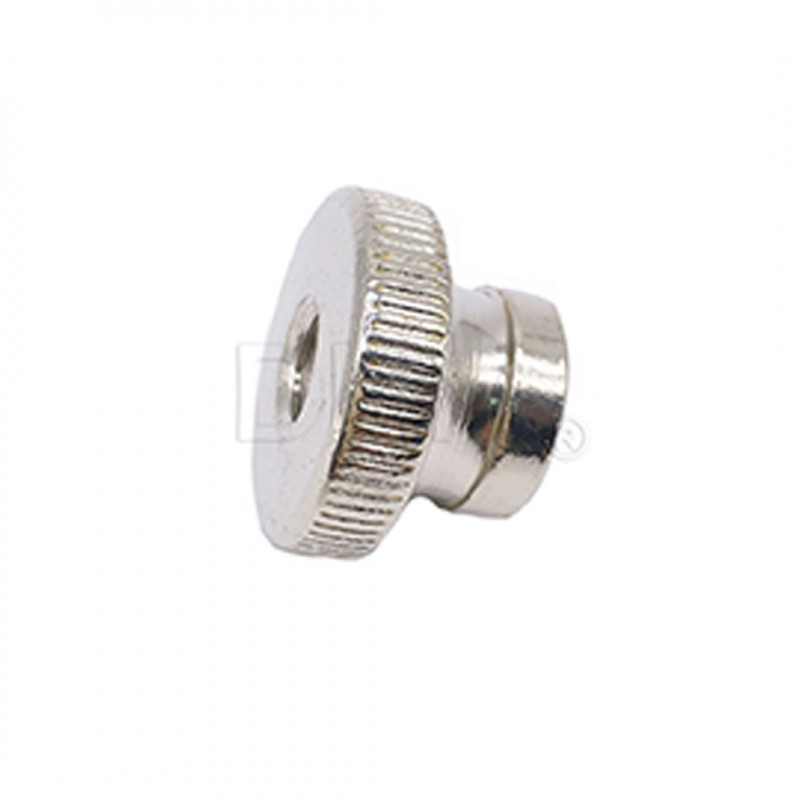
4 x M4 knurled nut - press plane adjuster
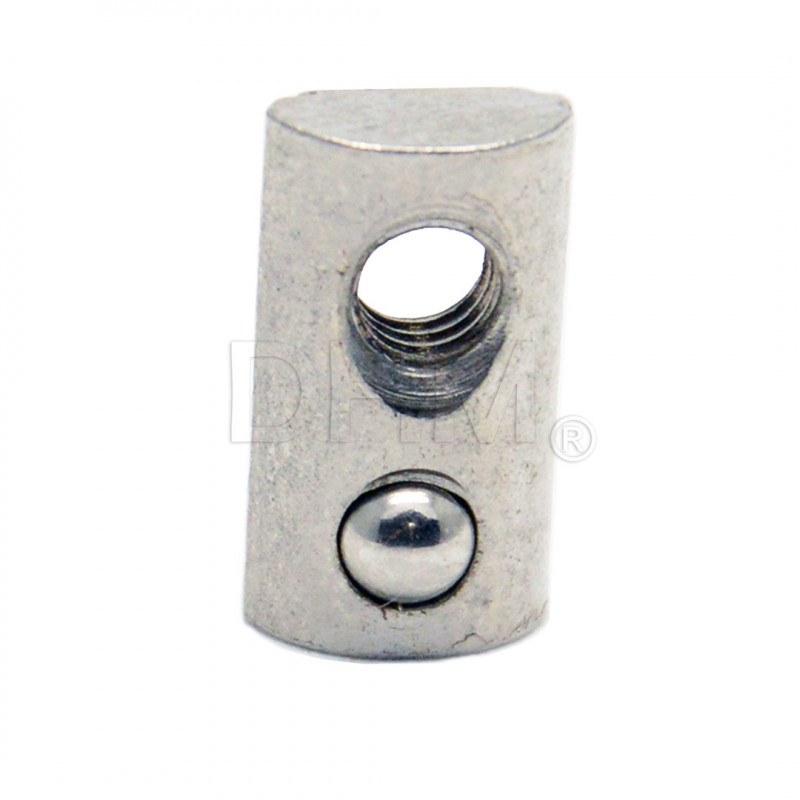
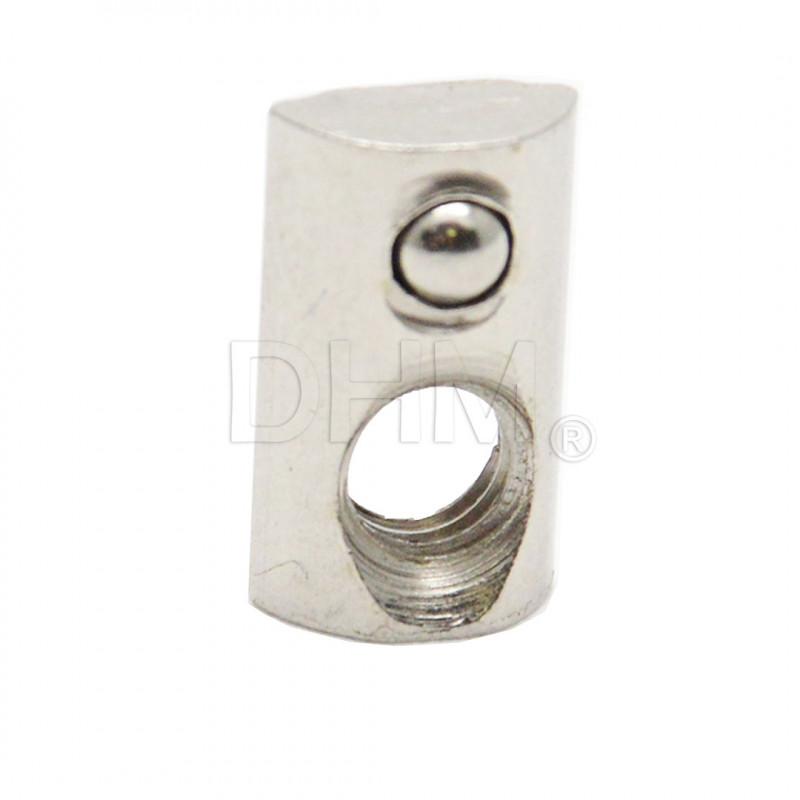
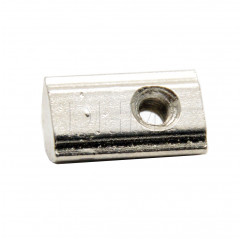
4 x Nut with spring for post-assembly - Series 5 steel - M4 thread
4 x Lowered socket head screw with galvanized Allen recess 4x20
1 x 3D printer heated plate 350x350 mm 220V AC 750W with thermostat 150°C
1 x Plate with PEI surface with one textured side and one smooth side
1 x Magnetic deck for 3D printer - magnetic base with 3M adhesive backing
1 x Deck Panel
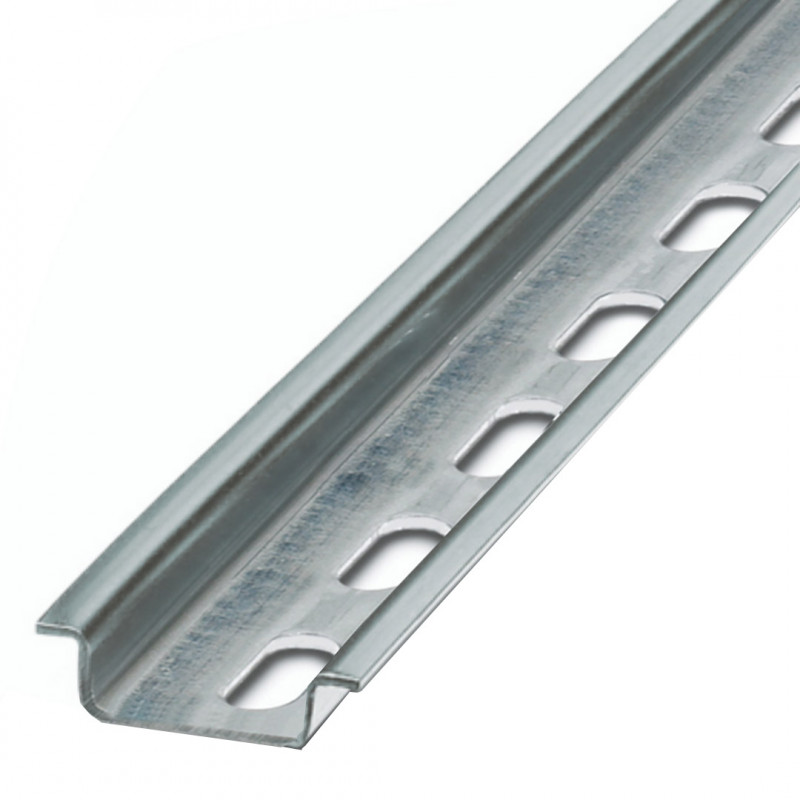
1 x Low perforated galvanized steel 35x7.5 mm Omega rail - DIN bar (46cmx2pcs)
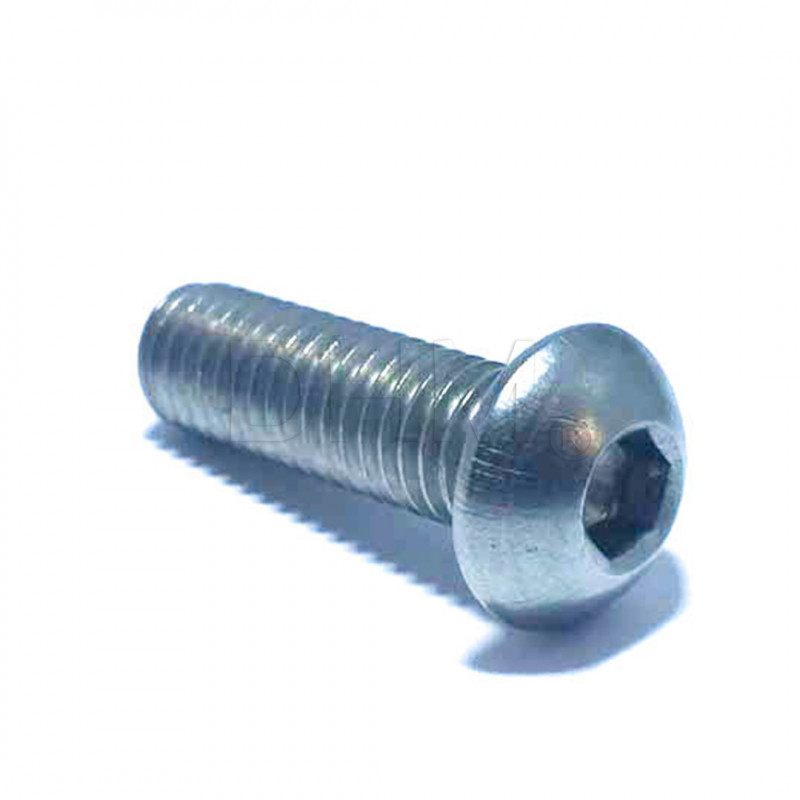
4 x 5x10 galvanized Allen recessed round head screw
4 x Nut with spring for post-assembly - Series 5 steel - M5 thread
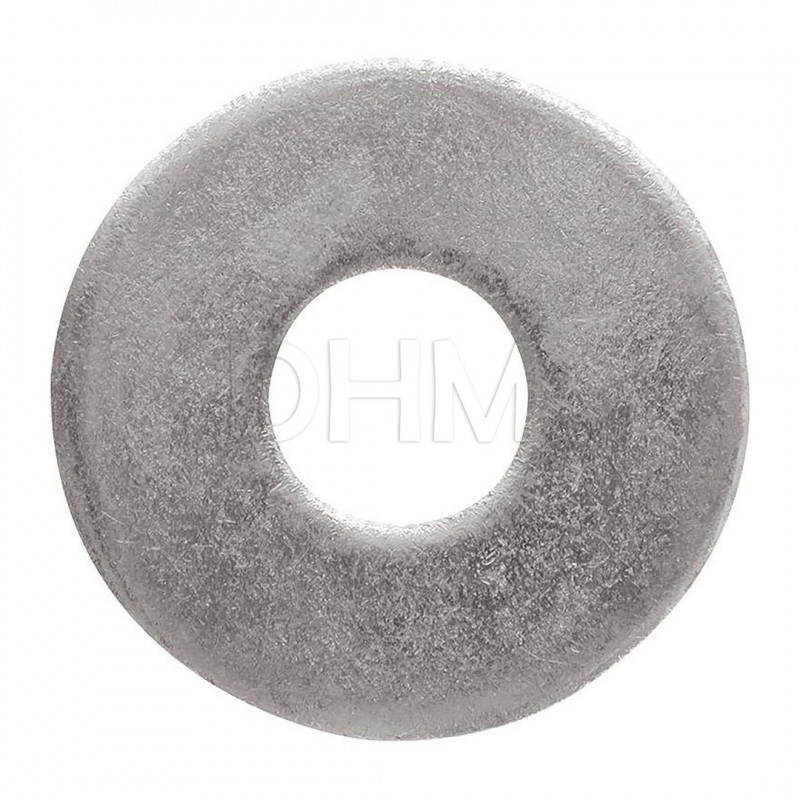
4 x 5x15 mm galvanized increased flat washer for M5 screws
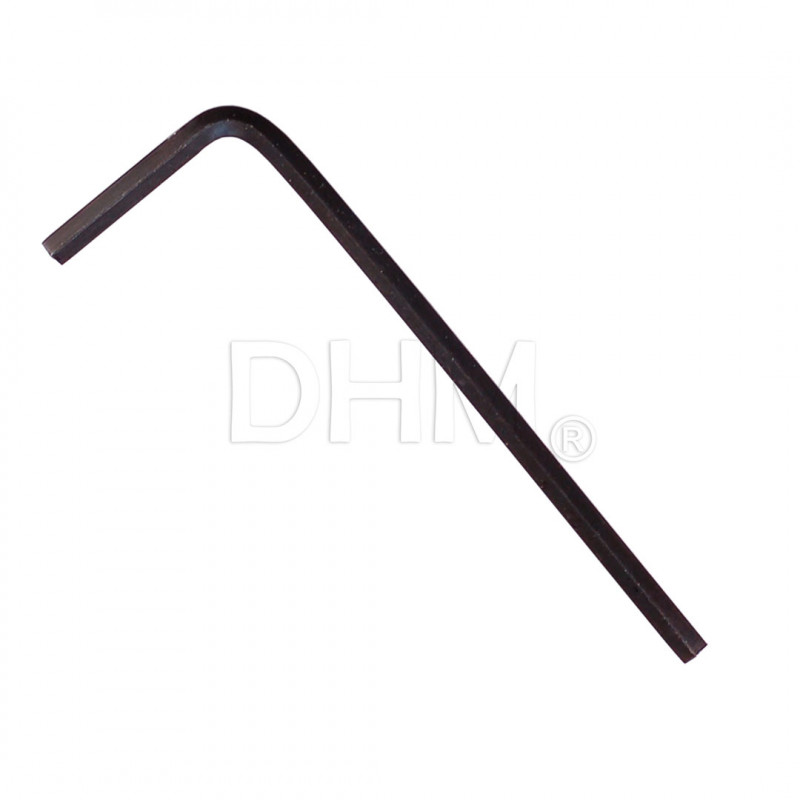
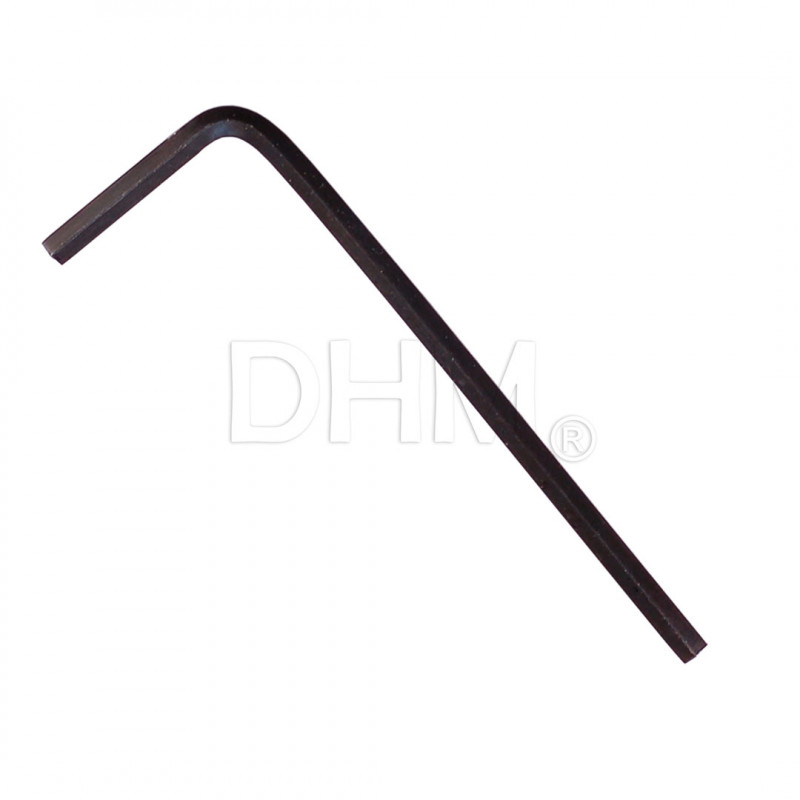
1 x Allen wrench 2.5 mm - ISO 2936 - DIN 911 - galvanized steel
1 x Allen wrench 3 mm - ISO 2936 - DIN 911 - galvanized steel
Check out related products for the STEP later and earlier!


